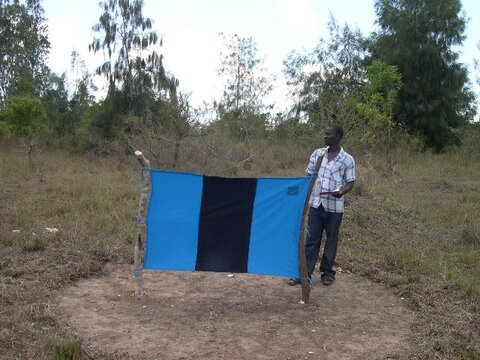
How to deploy a target

1.Pick a clear area

2. Clear the site.
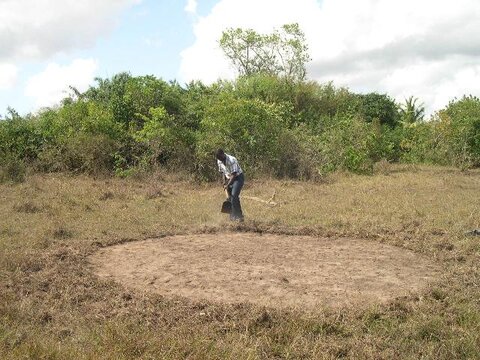
3. Ensure that all the vegetation has been removed - this will protect against fires.
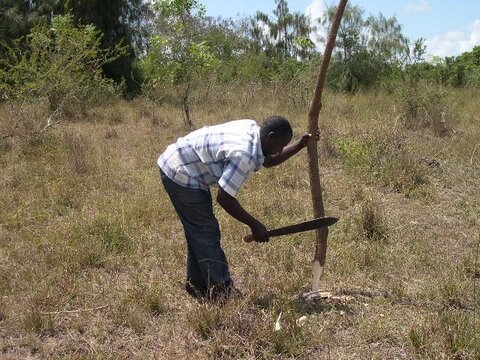
4. Select some suitable poles and...
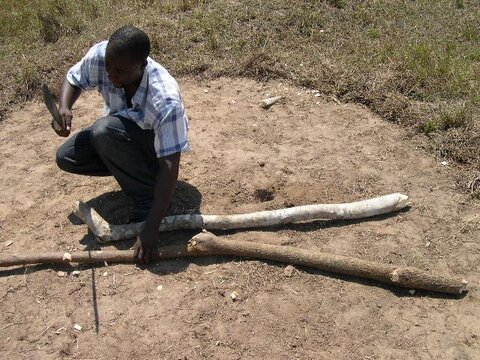
5. trim them.
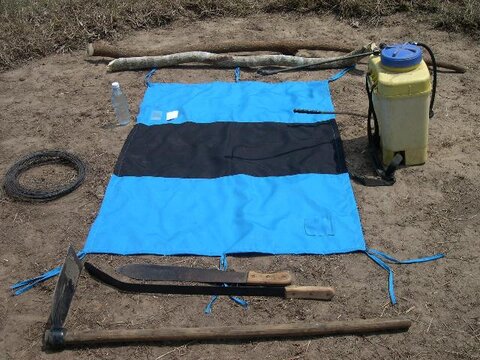
6. You need poles, soft wire, attractants, insecticide and basic tools - and a target of course.
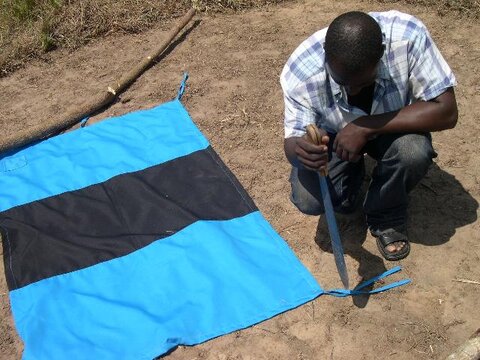
7. Lay the target on the ground so that you can see where to place the poles.
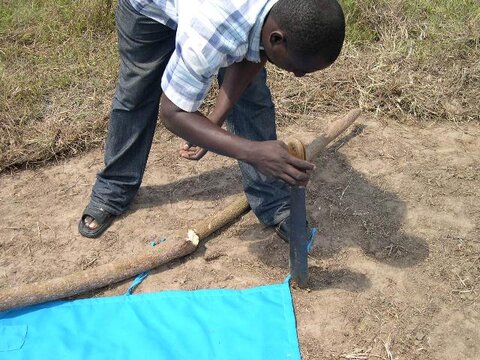
8. Mark each end and...

9. ...dig a hole for each pole.
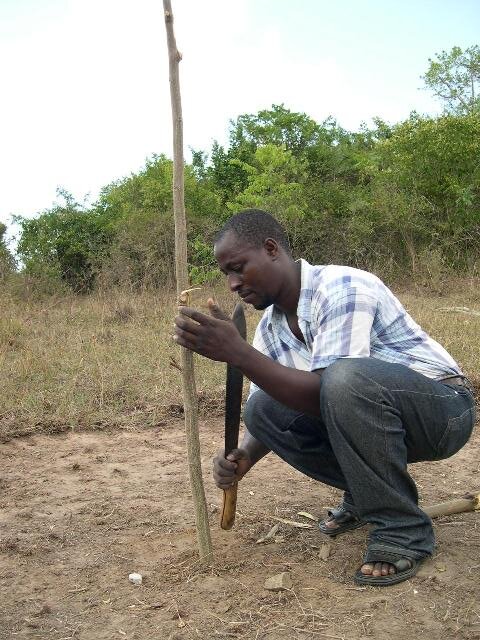
10. Insert the pole and ensure it is secure.
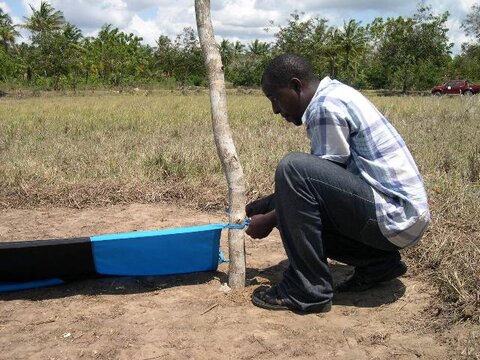
11. Attach the target to the pole.
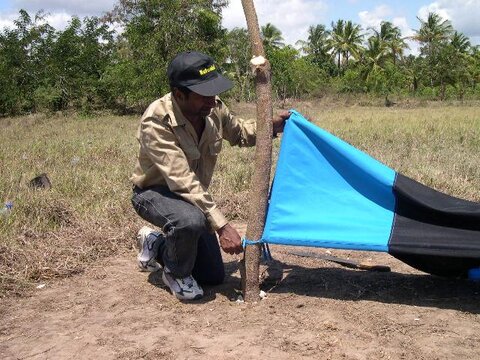
12. Repeat this process for the other edge.

13. And do the same with the other two corners.
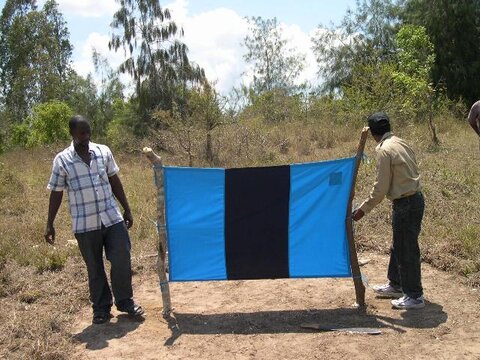
14. It should look like this.
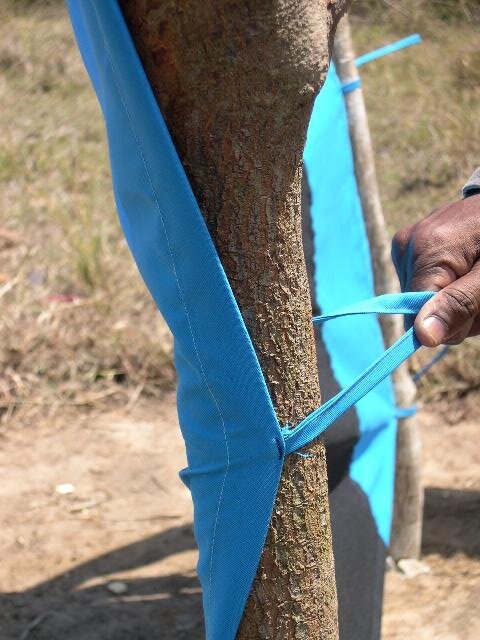
15. Do not fasten the target like this but...
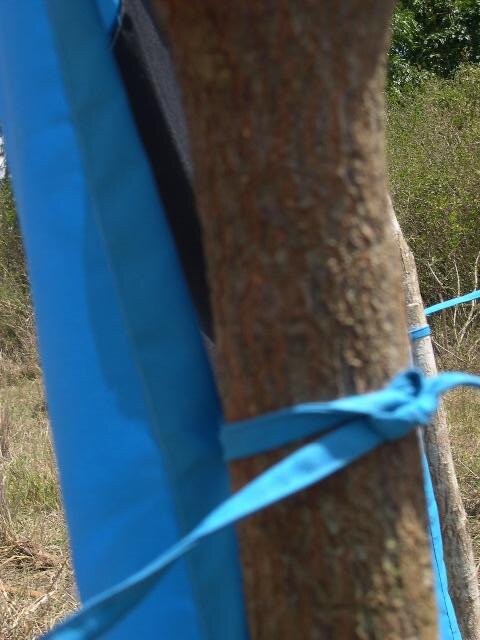
16. ...fasten it like this.
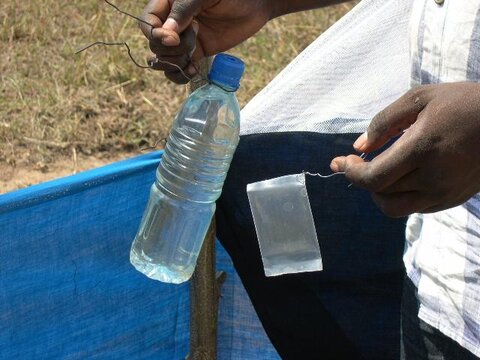
17. For Morsitans species, you should bait the target with acetone, octenol and, possibly, phenols.
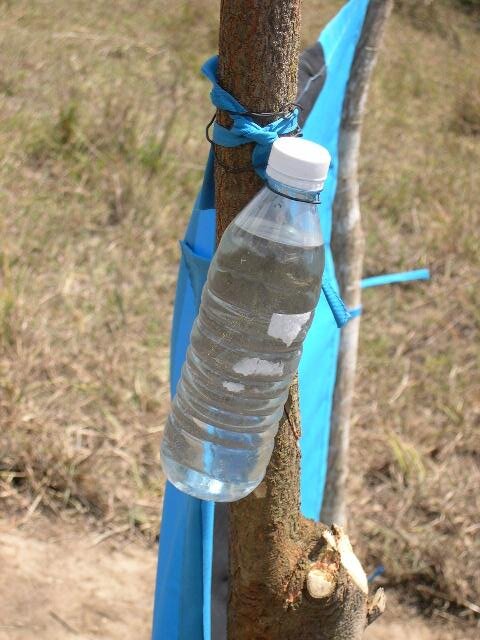
18. You can attach the acetone bottle like this; it is less likely to spill or be lost.

19. Place the octenol-phenol sachet in the pocket provided.

20. If the target has not been treated with insecticide, then you need to do so now.

21. Make a note of when and where you deployed the target - you will need to find it again to keep the target in good working order.
